You Are Here ::: Home >> Dreamweaver Templates >> Template Customization Guide >> Custom Styling Text
Website Text Styling Customization
Changing your dreamweaver template's text styling using CSS Styles
We've used external style sheets to manage the text used in the site. Changing font properties has never been easier. Follow these steps to customize the text used in the template.
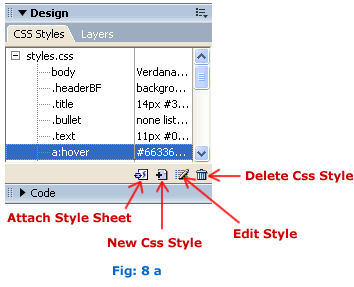
- In Dreamweaver, open styles.css in Files panel (Fig: 8 a) .
- The following styles are common to most of the templates:
- title - used for the titles
- subtitle - used for the subtitles
- text - used for the content
- footer - used for the footer
- links - used for text links
- menutext - used for text in the menu
- :hover - It is a pseudo-class, which adds a special style to an element when you mouse over it.
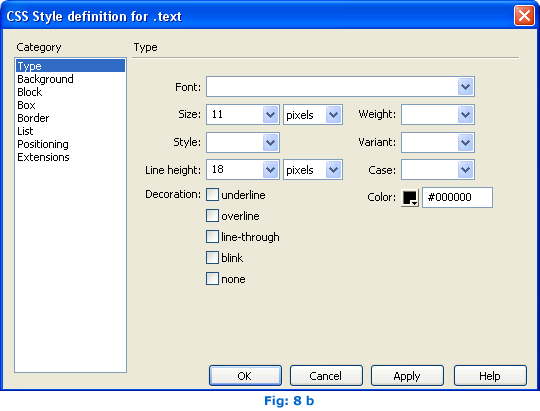
- Choose the style you want to change and click on Edit. In CSS Style definition panel (Fig: 8 b) change the Font type, Size, Weight etc., and Save (or Ctrl+S) the changes.
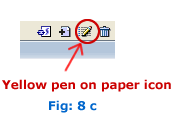
- To change the hover effect of a style (which is not visible in the stylesheet in Dreamweaver 4 and below), click on the Edit Style Sheet button (yellow pen on paper icon) which is shown in Fig: 8 c , select the style sheet and then edit the hover effect.
- Once the Styles is saved, it will be automatically reflected in the site.
Using Styles to format text
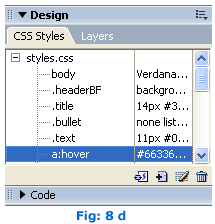
- Open the CSS Styles panel by clicking on Window>>CSS Styles (or Shift+F11). You
will see a list of all the styles created for the site (Fig: 8 d).
-
To format text, all you need to do is select the text you want to format
and choose the appropriate style from the Window>>Properties panel (or Ctrl+F3). E.g. Choose
the text for the title of the page and select the title style which is shown in Fig: 8 e. You will
now see that the text is formatted with the title style.

SmartWebby.com Dreamweaver Template Customization Guide
- Step 1: Dreamweaver Site Definition - Setting up your template website in Dreamweaver
- Step 2: Custom Colors - Changing your dreamweaver template's design colors
- Step 3: Custom Header - Customizing the website header with your Site Name and Slogan
- Step 4: Custom Links - Modifying your website Links - Text links or Rollover links
- Step 5: Custom Footer - Changing the website's Footer Text
- Step 6: Custom Graphics - Replacing Photos and Images used in your template's design
- Step 7: Custom Content - Inserting Content into Existing Pages and Adding New Pages
- Step 8: Custom Styling Text - Changing your text styling using CSS Styles
- Custom Flyouts - Modifying your dreamweaver template's Drop-down Menus if included
- Custom Scroller - Customizing the News Scroller if included
- Custom Swaps - Customizing the Swap Images if included